 Rendervis
Guide
SketchUp to Render: Turn a 3D Model Into a Photoreal AI Still
The design already lives in SketchUp. The presentation image is a finishing pass, not a second modeling job.
8 min readRendervis
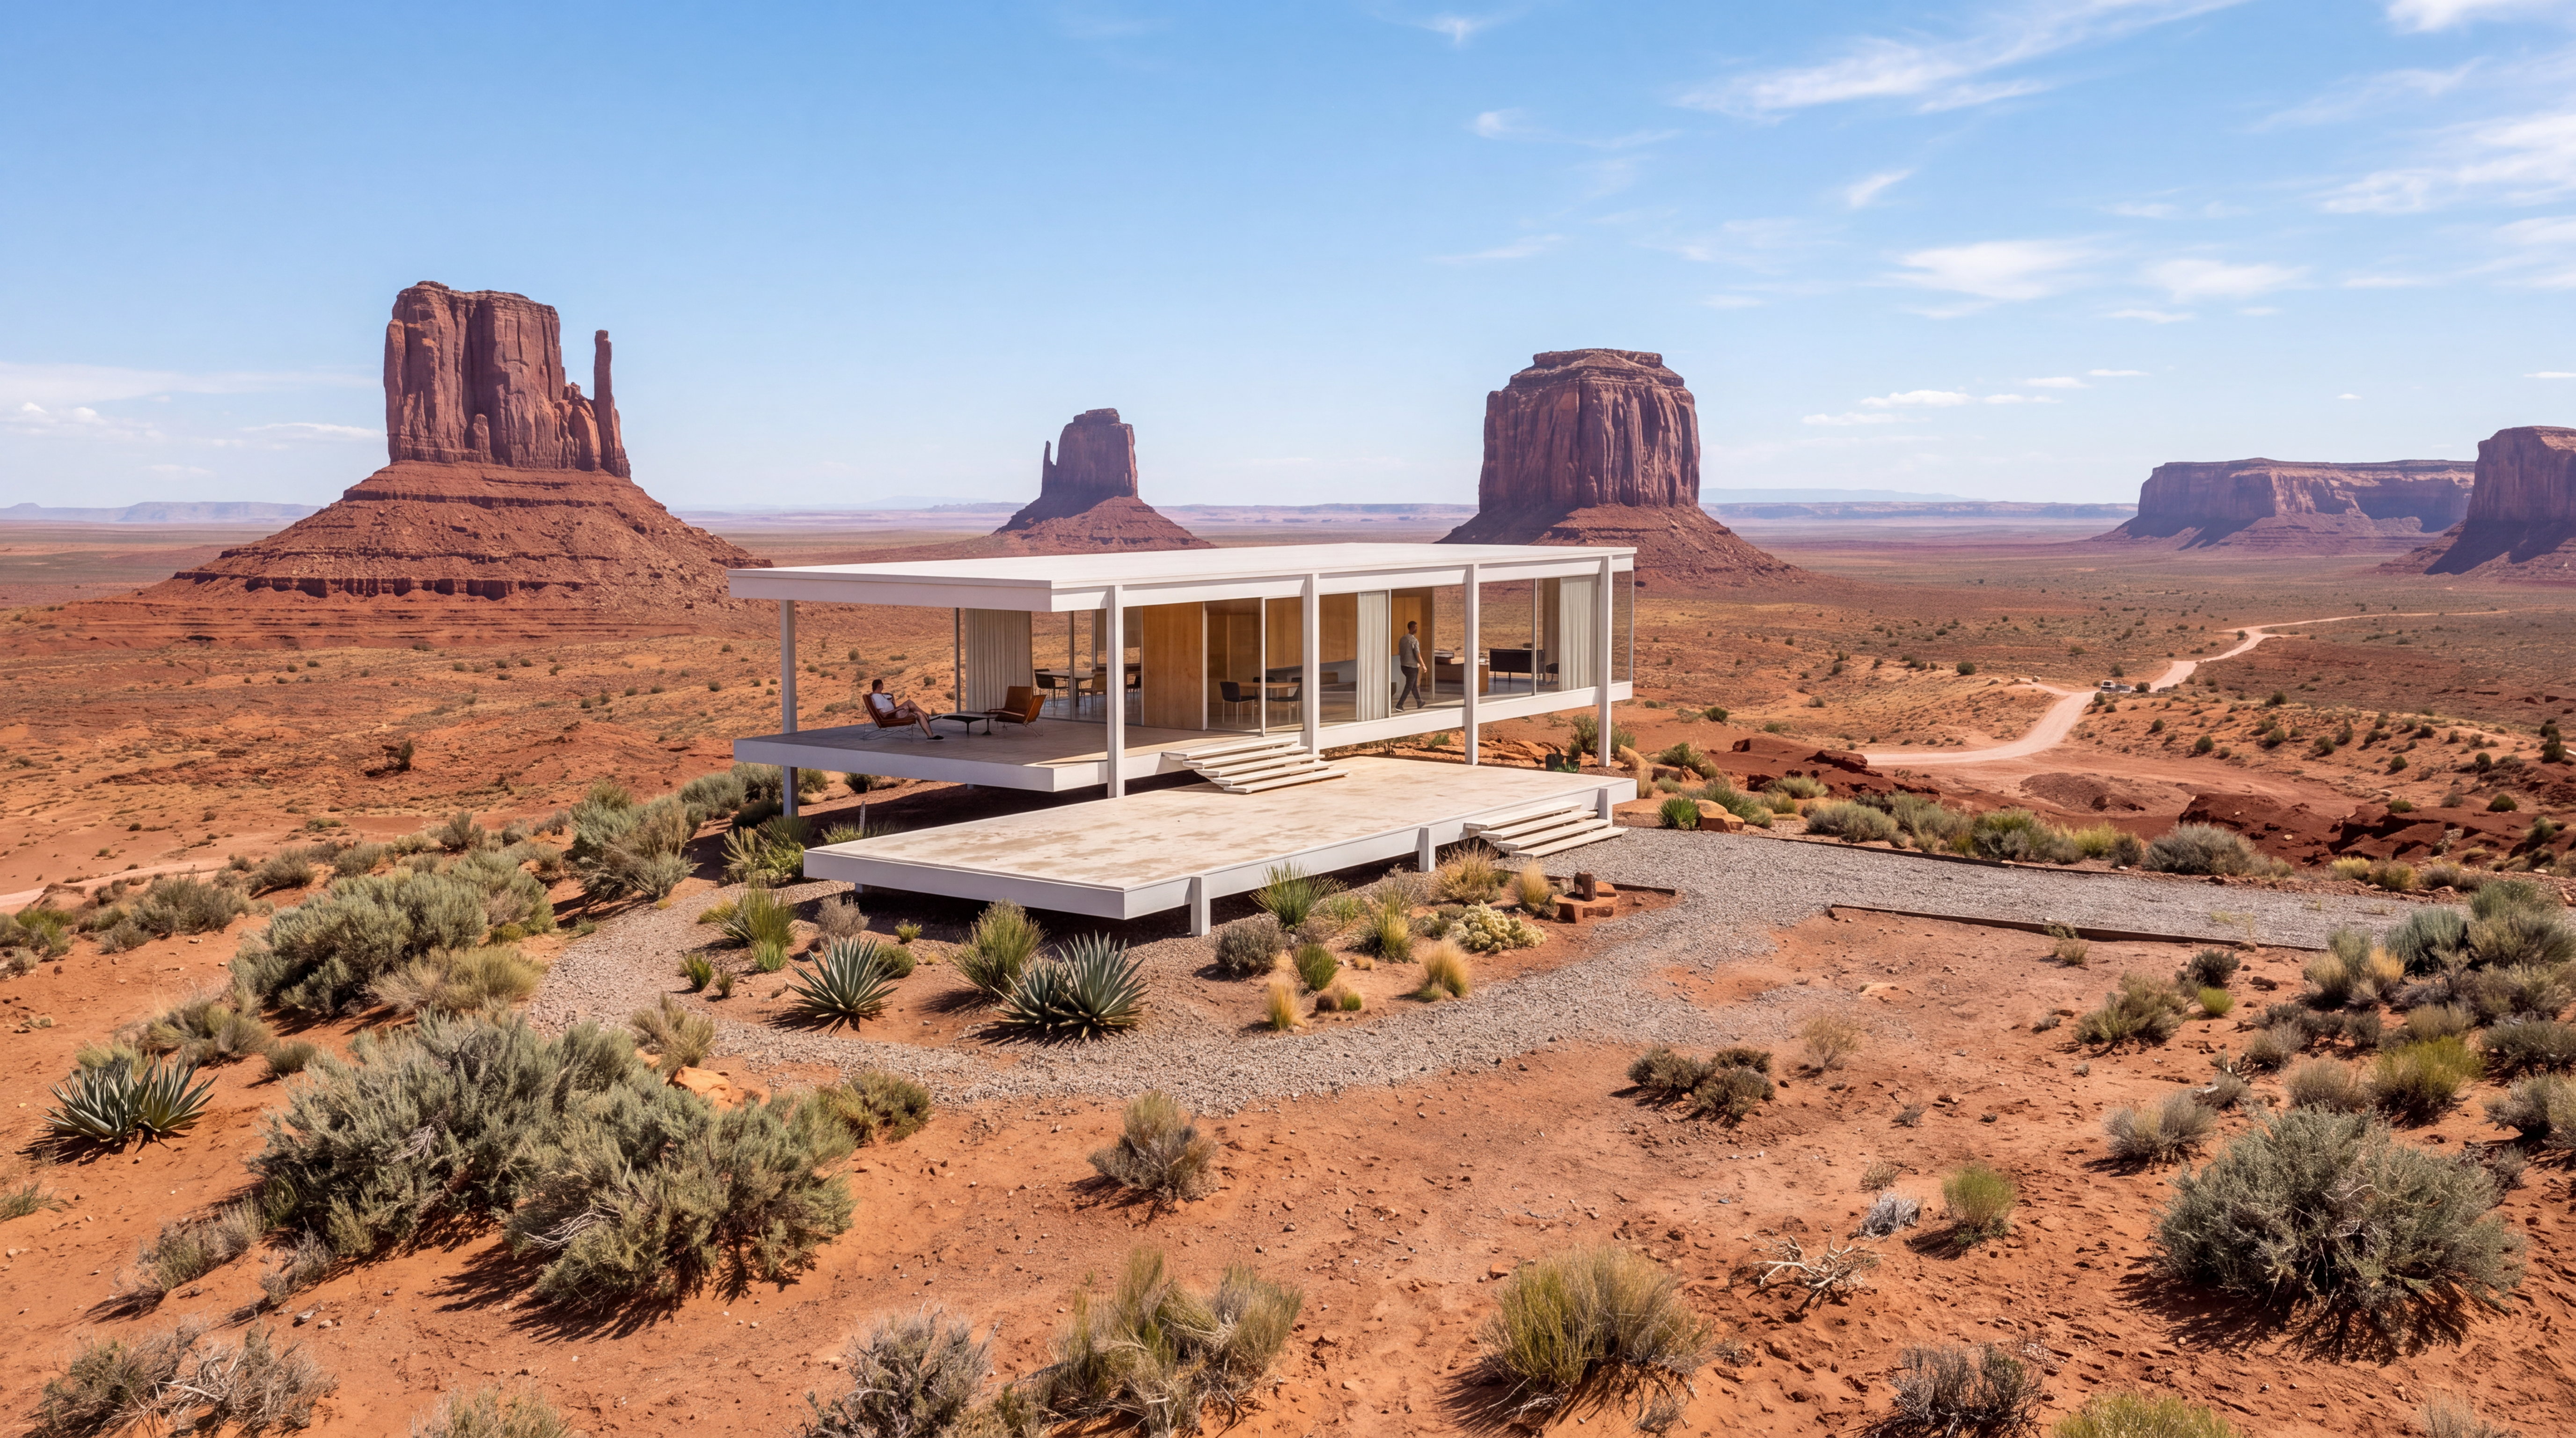
SketchUp is where the design lives, but a viewport is not a client image. Export a clean screenshot for fast concept looks, or export glTF Binary (.glb) and place the model in Rendervis when the job needs real site context, exact cameras, or a consistent multi view set. Native .skp is never uploaded. You export first.
The SketchUp model is done. Massing locked, openings in the right place, the volume sitting where it should on the site. What you have on screen is accurate. What you do not have is the image the client will actually respond to.
A SketchUp viewport answers design questions. Flat shading, edge lines, a sky that is a color instead of a source. Everyone can see the building. Nobody can feel the afternoon light on the facade.
You do not fix that by fighting a single magic prompt. You export cleanly, pick the upload path that matches the job, then style and refine.
Quick answer: Export a clean 2D screenshot for fast concept looks, or export glTF Binary (.glb) and use the in browser 3D model viewer when the job depends on real site context, exact camera framing, or a consistent multi view set. SketchUp’s native .skp is never uploaded. You export first. Finish in Rendervis. Geometry stays as you modeled it. Plans start at $49 a month.
What this guide covers
- Why a SketchUp viewport stops short of a presentation still
- When a screenshot is enough, and when a .glb is the better export
- How to tidy the model before you leave SketchUp
- A practical step by step from export to client ready image
- How to fix weak outputs without throwing the whole pass away
For the interior focused version of this workflow, see SketchUp rendering with AI. For the general plugin free path, see photoreal render without a render plugin.
Two ways to go from SketchUp to a render
Both start in SketchUp and end in Rendervis. They differ in how much control you keep over the site and the camera.
Upload a SketchUp screenshot (fast)
Frame a good view in SketchUp, export a clean 2D image, and upload it as a regular image to finish it.
- Best for early concept exploration and quick client looks
- You do not need the building to sit on its real site yet
- You are still iterating on the design, not the presentation context
Usually the fastest route from SketchUp to a believable image.
Export .glb and use the 3D model viewer (full control)
Export the model as glTF Binary, upload it, and work from the model itself. Orbit, frame exact cameras, and place the building in real world site context when the surroundings matter.
- Best when the building must sit in a real location with real neighbors
- Save perspectives and render from those exact views later
- Stronger consistency across several client facing images
Usually the stronger workflow for site context and presentation control.
Same rule either way: bring the design you already have. Rendervis does not rewrite the architecture. It does the cinematic post: materials, light, atmosphere, the polish that used to arrive as a separate invoice.
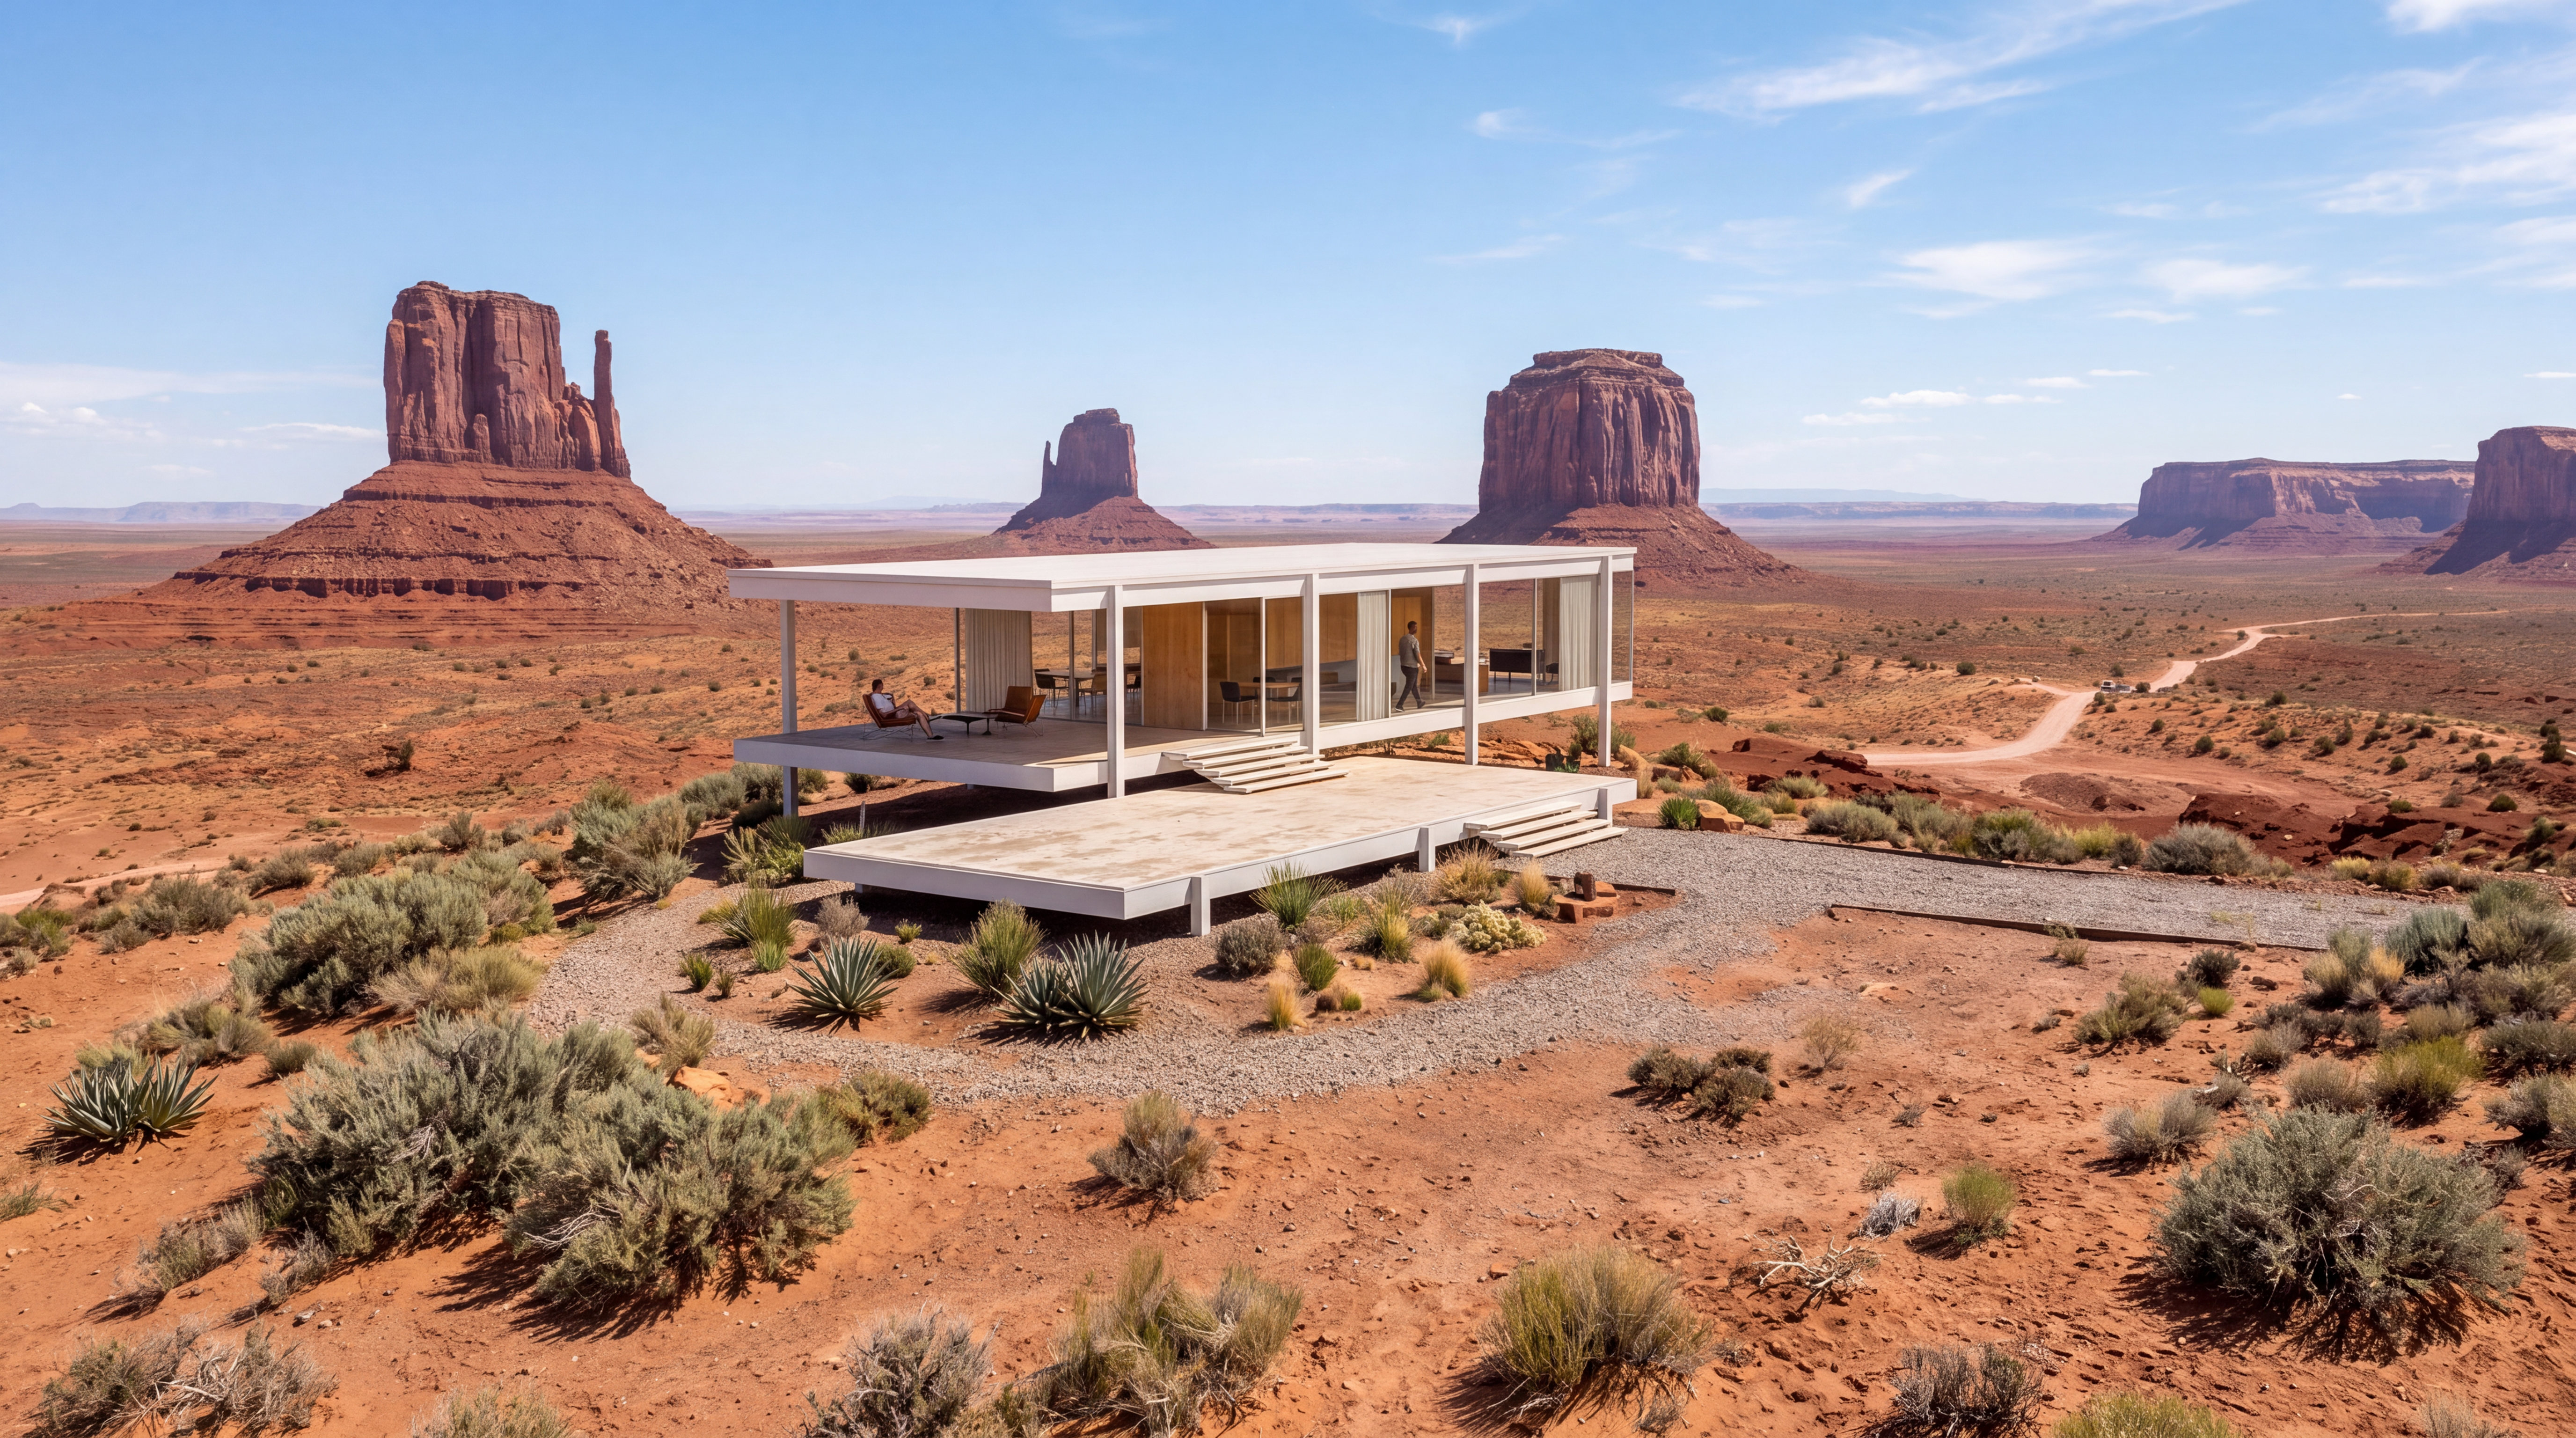
Export your SketchUp model cleanly
Weak results often start before the file reaches the tool. A tidy export gives the finishing pass less to guess and keeps your geometry intact.
Hide what you will not show
Turn off tags, scenes, and helper geometry you do not need. Construction lines, dimension strings, the abandoned massing study sitting on a layer you forgot. Everything visible gets read.
Export at real world scale
glTF uses 1 unit = 1 meter. Modeling at real scale means the building lands at the right size in the viewer. You can still rescale if needed.
Keep the mesh reasonable
Very dense models upload slowly. Prefer .glb over multi file .gltf so textures stay bundled, and simplify heavy components when you can.
Pick the right format
Use .glb for the 3D workflow. For a screenshot upload, use JPEG for shaded views and PNG for line or isometric drawings. Rendervis accepts JPG, PNG, and WebP for images, plus GLB, GLTF, and OBJ for 3D. .skp is not a direct upload format.
Step by step: from SketchUp to render
1. Tidy the model
Hide the tags, scenes, and helper geometry you will not show, and delete obvious clutter. Export only what you need for the shot. You can always refine materials and atmosphere after the upload.
2. Export from SketchUp
For the 3D workflow, go to File, Export, 3D Model… and choose glTF Binary File (.glb). Modern SketchUp exports glTF natively. No extension needed.
For a quick restyle instead, export a clean 2D graphic of your framed view. Aim for at least 2,000 pixels wide. JPEG for shaded views, PNG for line or isometric drawings. Hide the toolbars. A small screenshot with the interface in the corner wastes the pass before it starts.
Camera tips that pay off either path:
- Prefer two point perspective so verticals stay vertical
- For exteriors, crop until the building reads in a single glance
- Leave a consistent sun direction on if it helps the volume read
3. Upload to Rendervis
Upload the screenshot as a regular image, or open the 3D model viewer and upload the .glb. Same idea: the architecture is the input, not a suggestion.
4. Place it on the real site when context matters
If you went the .glb route and the surroundings are part of the story, set the location, clear the existing footprint where you need a clean pad, and position the model with move, scale, rotate, and height. Save a camera angle as a perspective to render from.
That is the job where a flat screenshot starts to feel thin: real neighbors, real terrain, exact approach views for a planning meeting.
5. Choose a style and write a short prompt
Pick a direction that matches the stage of the project. Keep the prompt grounded in the model. Name materials and lighting. Say when geometry should stay close to the source.
Keep the original geometry. Modern white stucco facade, warm oak
details, soft afternoon light, realistic shadows.
Preserve roof shape and window placement. Concrete base, black
metal frames, landscaped front yard, overcast daylight.
Photorealistic but faithful to the model. Keep proportions, add
subtle stone texture, warm dusk lighting.
Keeping walls, openings, and proportions right is what Rendervis handles automatically. Your sentence is for materials and light. More prompt patterns live in architecture AI rendering prompts.
6. Generate, compare, refine, and export
A normal still comes back in under a minute. The real quality usually comes from one or two deliberate iterations, not the first pass.
Same input, new brief:
- Swap brick for corten on the same facade
- Try dusk instead of noon
- Tighten the landscaping language without touching the massing
You go back to SketchUp when the design changes. You stay in Rendervis when the brief changes. For material studies specifically, see testing facade materials with AI.
Fix weak outputs without starting over blindly
The building changed too much
- Tell the next pass to preserve geometry and proportions
- Start from a .glb so the geometry is locked by the model, not guessed from a flat image
- Compare the still against the SketchUp view before you present
The image still looks unrealistic
- Add clearer material and lighting instructions
- Upload a style reference if the visual target is specific
- Try a different time of day instead of only rewriting the prompt. See relighting architectural renders
Only one area is wrong
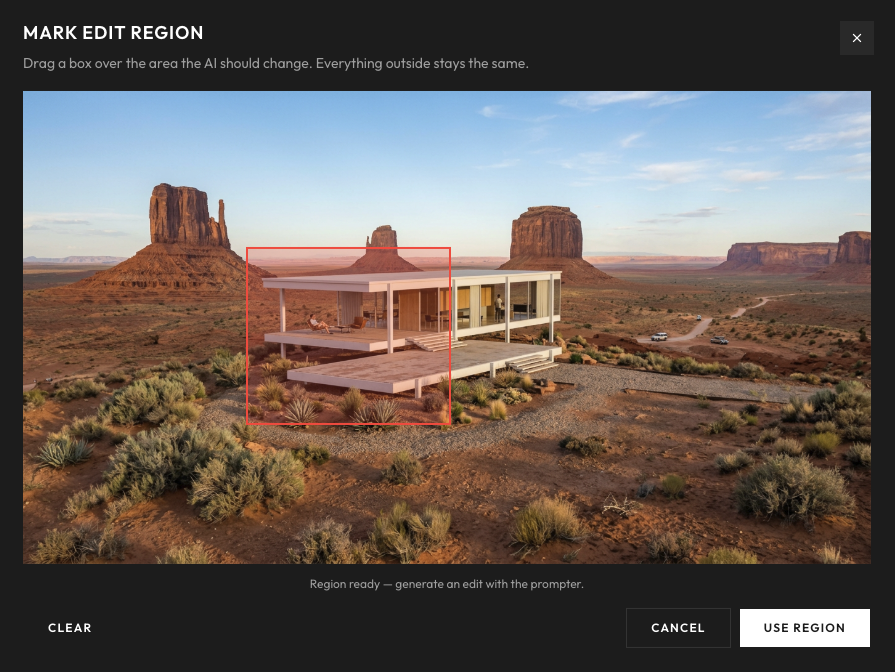
- Edit that region instead of rerendering the whole scene
- If more than about 30% needs to change, generate a new version instead
The screenshot is too weak
- Re export a cleaner, tighter view at higher resolution
- Switch to the .glb path when you need context or camera control
The rule of thumb: if more than about 30% of the image needs to change, generate a new version. If the issue is local, edit the image instead.
Which path fits this week
- Fast concept look, design still moving. Clean SketchUp screenshot plus a focused materials and light prompt.
- Real surroundings, exact camera, multi view client set. Export .glb, place and frame in the 3D viewer, then finish.
- Interior room stills by Thursday. Same idea, different subject. Use the interior SketchUp workflow.
- Nothing modeled yet. Someone has to build the scene first. That is studio work at $600 to $2,500 a still, or you block it out in SketchUp and come back here. Full cost picture in architectural rendering cost.
- Daily live walkthroughs inside the model. Keep the real time seat for that job. Still images are a different product.
Pro is $49 a month, Studio $99. That is less than one studio revision round at $100 to $400.
Final recommendation
If you just need a fast concept look, a clean SketchUp screenshot plus a focused prompt is usually enough. The moment the job is about real surroundings, an exact camera angle, or a consistent set of client images, export a .glb and work from the model in Rendervis. The geometry stays locked so the finishing pass styles the building instead of reinventing it.
Open the model you are presenting next. Export clean. Pick the path that matches the meeting. Describe the light and materials the way you would describe them to the client.
Start from the SketchUp export you already have
FAQ
No. Rendervis accepts JPG, PNG, and WebP for image uploads, plus GLB, GLTF, and OBJ for 3D. SKP is not a direct upload format, so you export a screenshot or a .glb from SketchUp first.
For the full 3D workflow, export glTF Binary (.glb), a single file with textures embedded. For a quick restyle, export a clean 2D screenshot: JPEG for shaded views, PNG for line or isometric drawings.
Modern SketchUp exports glTF natively via File, Export, 3D Model. Older versions that do not can export .obj instead, or you can upload a 2D screenshot.
Yes. A .glb keeps the scale you modeled at (glTF’s convention is 1 unit = 1 meter), so it lands at the right size in the 3D viewer. You can still scale, rotate, and set height. Rendervis does not rewrite walls, openings, or proportions in the finishing pass.
Export a .glb, open the in browser 3D model viewer, set the real world location, clear the existing footprint where you need a clean pad, position the model, then save a camera angle and render with real context, shadows, and neighbors.
Hire a studio when nobody has modeled the project yet and you need the scene built from scratch. If you already have a SketchUp view or a .glb, the hard part is behind you. Studio stills typically run $600 to $2,500. Rendervis finishes the presentation image from the design you already have, from $49 a month.
Bring your vision to life.