

Guide
SketchUp Rendering: From Model to Photoreal in Minutes
Keep modeling in SketchUp. Finish the image from a clean screenshot, with your geometry left alone.
8 min readRendervis
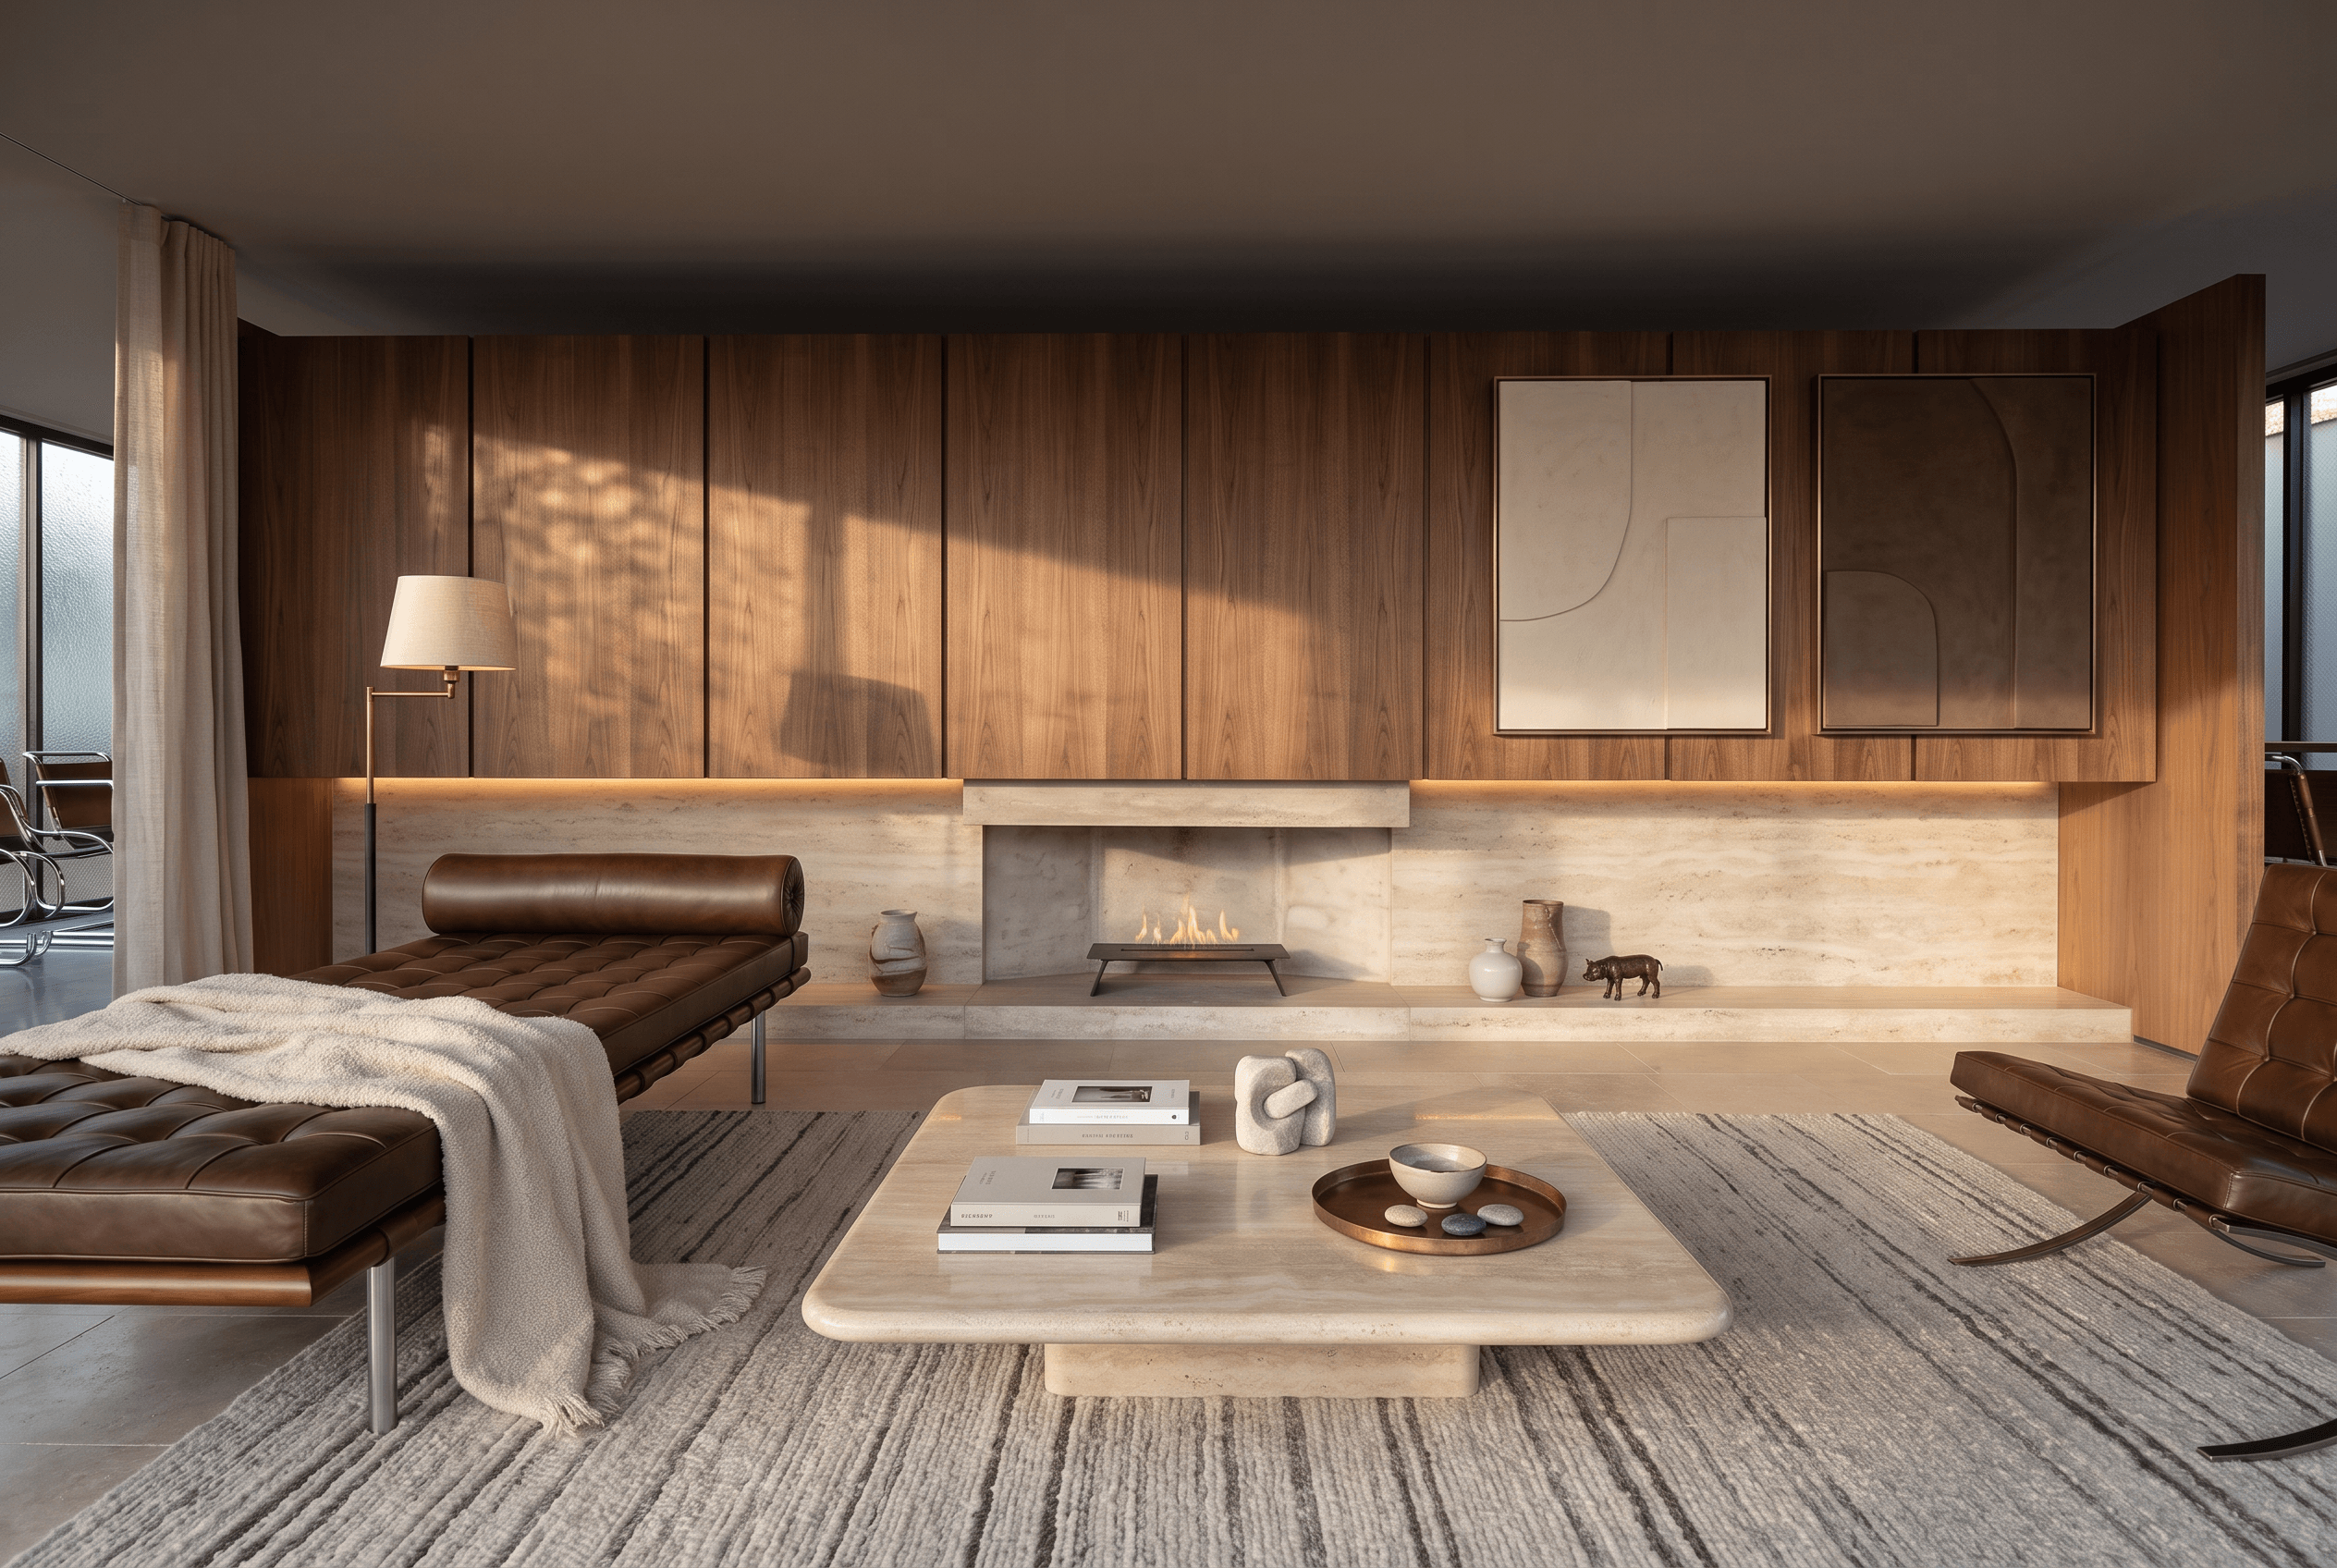
SketchUp is excellent at thinking through a space and uneven at selling how it feels. This guide covers why a render seat is often the expensive line after the model, and the workflow that replaces it for most client stills: compose the view, export a screenshot or upload a 3D object, describe materials and light, and let Rendervis keep the geometry while you take as many renders as you need.
The SketchUp model is done. Walls, windows, the sofa you hunted down, the cooking island placed to the centimeter. The client meeting is Thursday, and they have the line every interior designer hears from a model that still looks like a model: can you make it look real?
SketchUp is brilliant at the thinking part of design. It has never been good at the feeling part. Native output is flat shading and edge lines. Accurate, legible, and about as emotionally persuasive as a floor plan.
You do not need a second application bolted onto the first to fix that. You need a composed view and a finishing pass.
Quick answer: Compose the camera in SketchUp, export a clean 2D graphic (or upload a 3D object), then finish it in Rendervis with a materials and light prompt. Rendervis keeps your geometry automatically. Take as many renders as you need for the meeting. Plans start at $49 a month. Keep a real time render seat if your team walks the model live every day. Hire a studio when the project still has to be modeled from nothing.
Why SketchUp rendering feels like its own project
SketchUp’s common tiers ship as modelers, not as photoreal engines. That is by design. Rendering has always been somebody else’s job: a plugin, a GPU workstation, and a learning curve measured in weekends.
Every option on that path solves rendering by adding a second piece of software. Its own materials system. Its own lighting system. Its own hardware appetite. A real time renderer is typically a few hundred to about $1,150 a year, sitting on a modeler seat and a machine that can cost $2,000 to $5,000 if it is going to render without stalling. For a studio producing dozens of client images a week, that investment pays off. For an interior designer who needs six convincing images by Thursday, it is a project on top of the project.
The other path is outsourcing. A professional still still lands around $600 to $2,500, with the market average near $1,500, and you wait 3 to 6 business days for an interior. Extra revision rounds run $100 to $400 each. I wrote up the full cost picture in how much architectural rendering costs.
That is why the most expensive line after SketchUp is often the rendering you add afterward. Not because the geometry is hard. Because finishing used to mean a second craft.
The screenshot to render workflow
Here is what most interior designers actually need. No plugin install. No GPU seat. The model stays in SketchUp. The presentation still happens from a screenshot or a 3D upload, and you can take as many renderings as the brief needs.
Step 1: Compose the view in SketchUp
Set up the camera the way you want the final image framed. Composition first, polish later.
- Use two point perspective so verticals stay vertical. It is the single biggest fix for renders that look amateur.
- Keep eye height around 1.4 to 1.6 m for interiors. Lower reads dramatic. Higher starts to feel like a real estate drone.
- Hold the field of view around 50 to 65 degrees. Wide enough for a room, narrow enough to avoid fisheye stretch at the edges.
- Show the geometry clearly. Default face style is fine. Edges on or off. You do not need to texture everything yet.
The point is composition, not polish. Rendervis reads the structure from your screenshot and keeps that geometry automatically. Surfaces get described in words.
Step 2: Export the view, or upload the 3D object
Export via File, Export, 2D Graphic at 2,000 pixels wide or more, or screenshot the viewport with the toolbars hidden. Clean edges and a complete room matter more than chasing the last megapixel.
Hide construction lines, dimension strings, and the abandoned option study sitting on a layer you forgot to turn off. Everything visible in that frame gets read. A small screenshot with the interface in the corner wastes the pass before it starts.
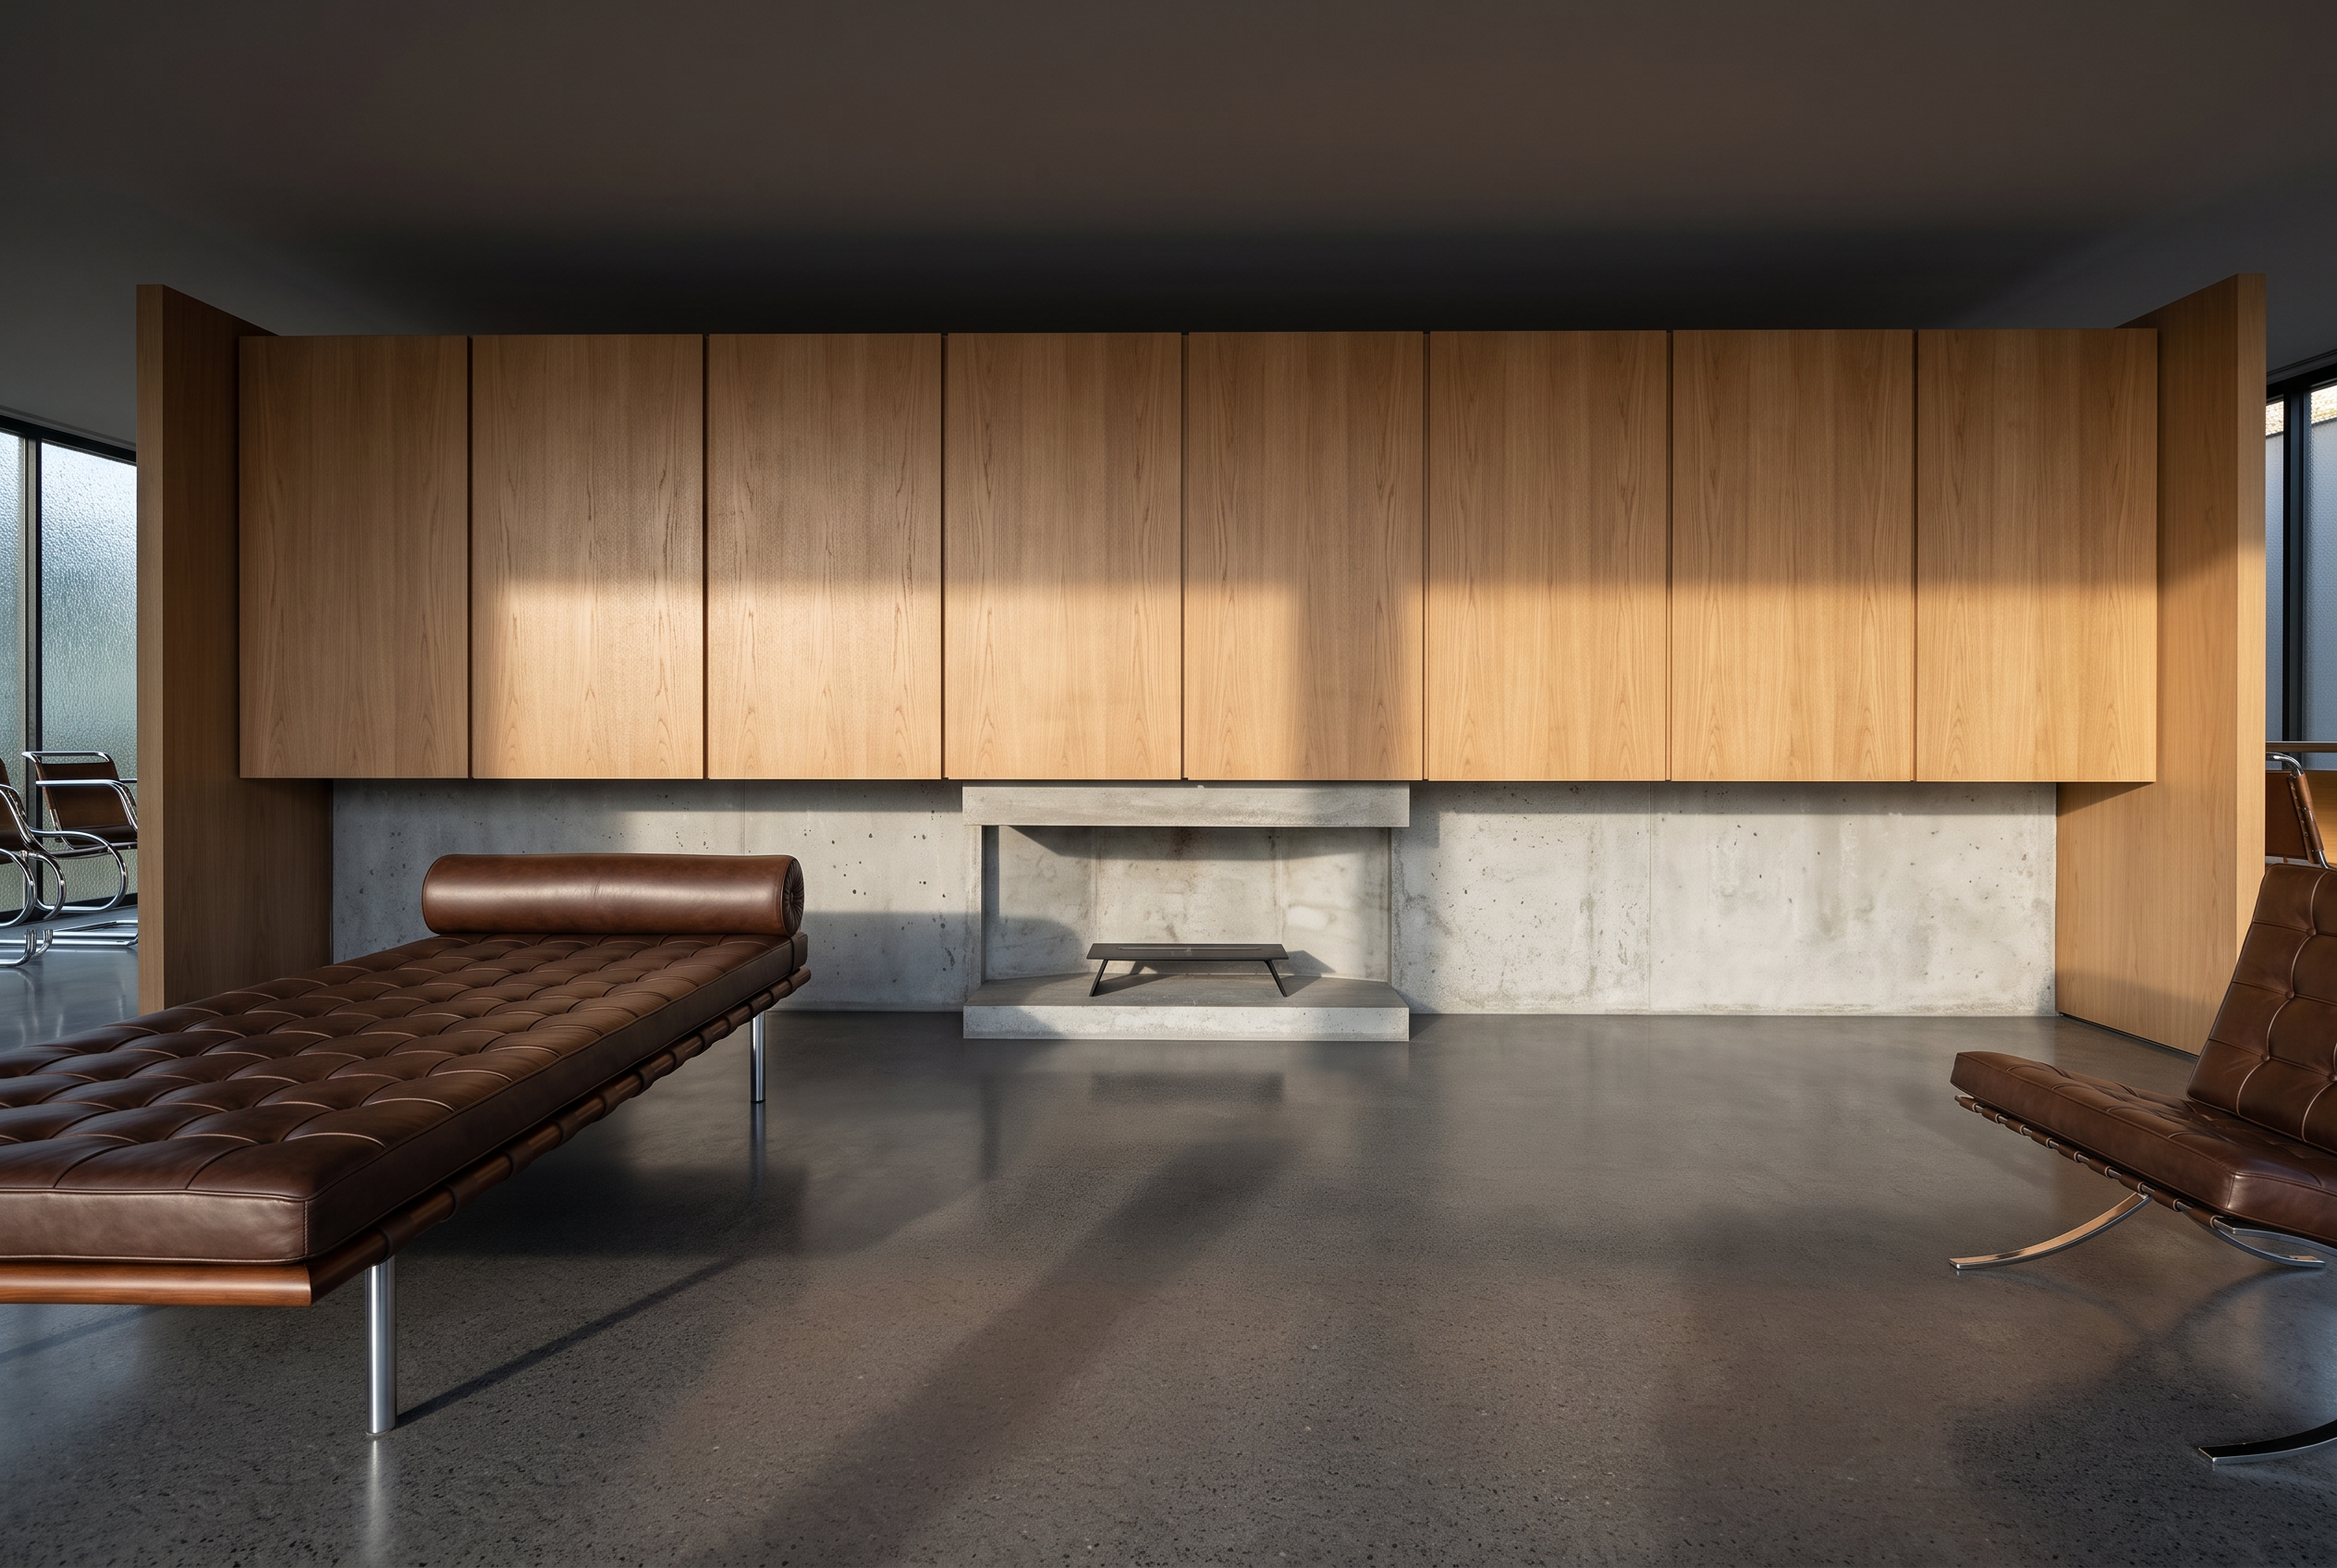
You can also upload a 3D object (GLB, GLTF, or OBJ) when you want the model itself in Rendervis, not only a flat export. Same idea either way: bring the design you already have, then take as many renderings as you want from it.
Step 3: Describe materials and light
Upload the screenshot or 3D object to Rendervis and write what you want applied: materials, light, atmosphere. You do not have to babysit the walls.
Wide plank white oak floor, warm white plaster walls, a boucle
sofa in oatmeal, walnut coffee table, linen curtains, soft late
afternoon daylight from the windows with gentle shadows,
photorealistic interior photography
Keeping geometry right is what Rendervis handles automatically. Same wall positions. Same sofa where you placed it. Same window the light comes from. Your prompt is for every material and lighting decision you would otherwise spend an hour assigning in a render engine.
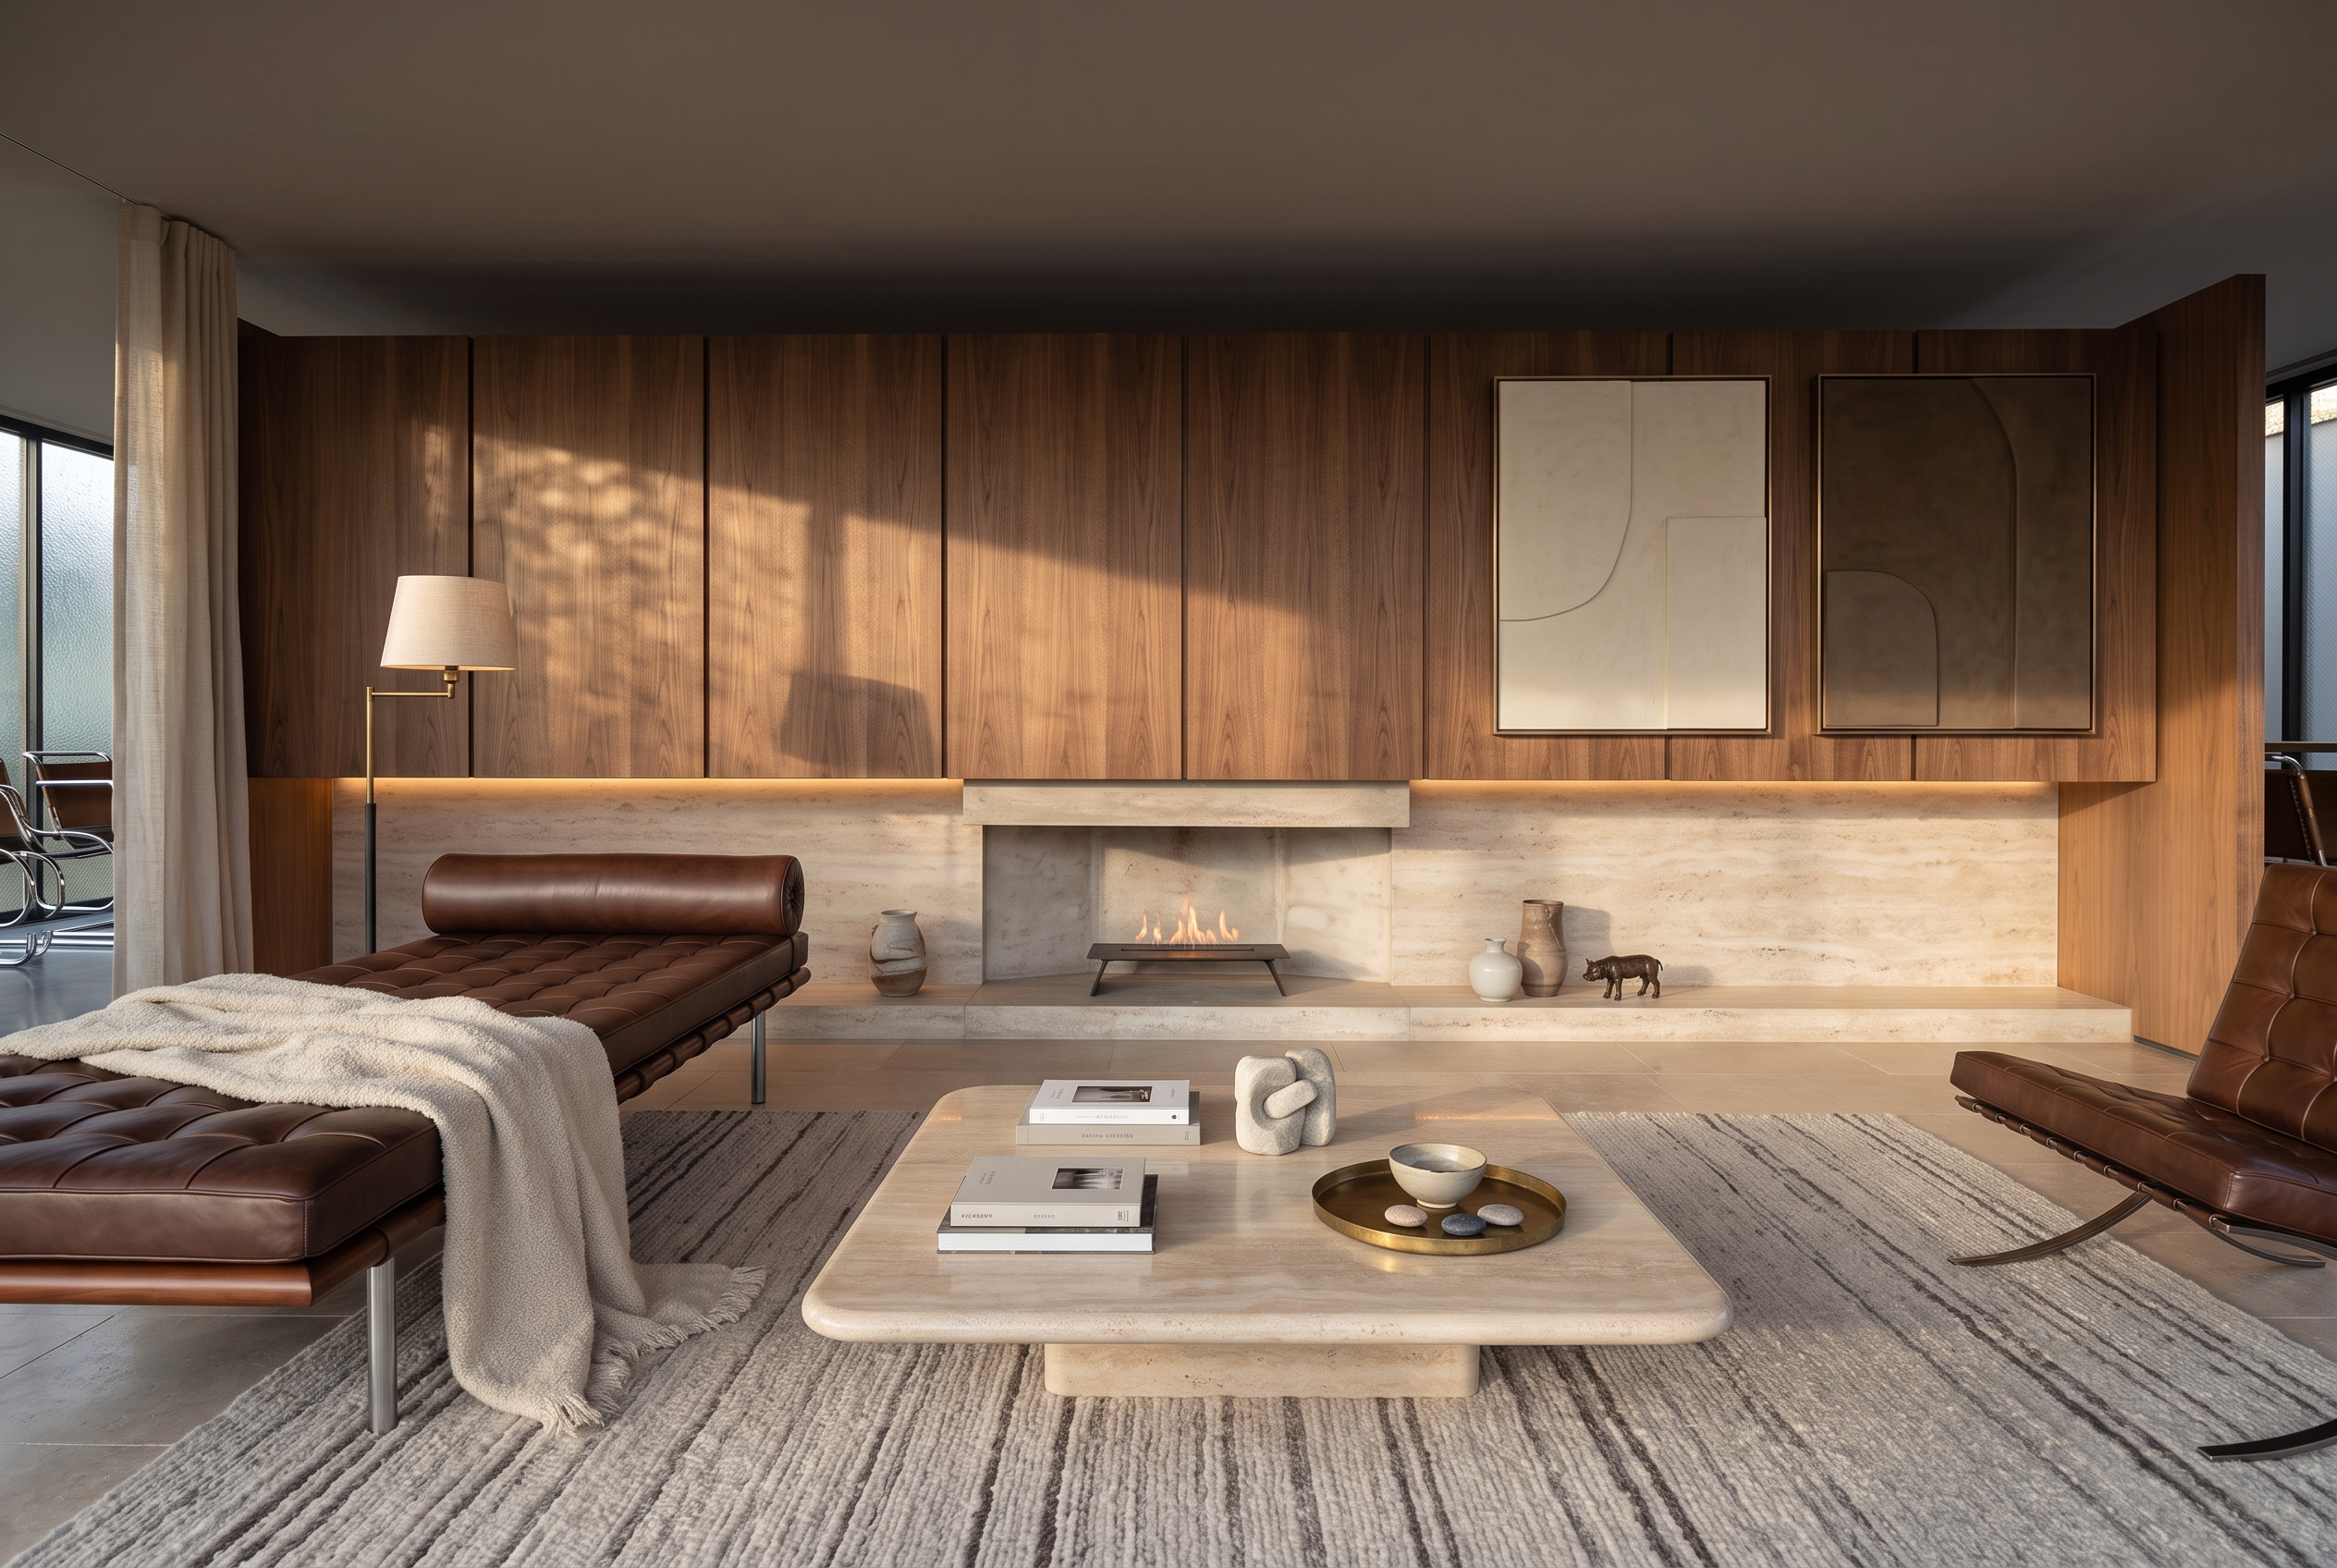
Under a minute later, the model is a photograph. Walls, windows, and proportions stay as you drew them. What you get is cinematic post production: atmosphere, material presence, the presentation polish that used to arrive as a separate invoice. More on that path in AI architectural rendering and interior rendering.
Step 4: Iterate the way clients actually decide
Same input, new prompts. Take as many renderings as you need until the set feels ready for the room.
- Material options: same room, swap the oak floor for polished concrete and the oatmeal sofa for forest green velvet.
- Time of day: same room at dusk, table lamps on, cool blue light through the windows.
- Style direction: same room styled Japandi, pale ash, paper lantern pendant, low profile furniture.
Three renders, a few minutes, and the client meeting becomes a choice between directions rather than a leap of imagination. You go back to SketchUp when the design changes. You stay in Rendervis when the brief changes.
Interior prompts that actually do the work
Interiors live or die on materials and light, so those two vocabularies earn the most precision.
Materials. Name the species and finish, not just the category. “Rift sawn white oak, matte” beats “wood floor.” The same goes for textiles (boucle, linen, velvet, leather), stone (honed Carrara, flamed basalt), and metals (brushed brass, blackened steel).
Light. Name the source and time. Soft north daylight. Late afternoon sun raking across the floor. Evening, warm lamps only. Light direction should match your SketchUp windows. Rendervis keeps the openings and camera where you put them.
Styling. A few props make a render feel inhabited: a stack of books, a ceramic vase, a throw over the sofa arm. Keep it light. Over styled renders read as catalog pages.
For multi room presentations, keep the material palette consistent across every shot so the set reads as one project. The same materials should look like the same materials in every view.
When you still want a dedicated render seat
Honest boundaries, because the screenshot workflow does not replace everything.
- Live walkthroughs and VR. Real time navigation inside the model has no equivalent in a still image workflow. If your team reviews designs live every day, keep that seat.
- Long animation. Flythroughs still belong to engines built for continuous motion, though a short clip generated from a finished still is a different, cheaper product. See architectural animations.
- Physically exact material spec. If a client needs the render to match a manufacturer’s finish under measured lighting, a physically based engine with real material data is the right tool.
- Huge construction document sets. A production visualization team outputting hundreds of calibrated views will amortize the engine investment.
For the interior designer’s core work (concept images, client options, presentations, portfolio shots) the screenshot workflow covers the ground at a fraction of the cost and none of the setup. Many practices run both: the engine for flagship deliverables, AI for the dozens of decision images that happen before them.
If the deeper question is which software seats to own at all, start with Rendervis.
Which option fits this week
- Six client stills by Thursday, model already open. Screenshot workflow in Rendervis. Pro is $49 a month, Studio $99, Studio+ $199. That is less than one studio revision round.
- Steady volume, same material story across rooms. Lock the palette early, reuse the material language, iterate finishes in the browser, and render as many views as the set needs.
- Client still deciding between oak and concrete. Same export, two material prompts. Do not re texture the whole model for a preference test.
- Nothing modeled yet. Someone has to build the scene first. That is studio work at $600 to $2,500 a still, or you block it out in SketchUp and come back to this workflow.
- Daily live walkthroughs with the client inside the model. Keep the real time seat. Still images are a different job.
Model in SketchUp. Finish in a sentence.
SketchUp earned its place by making 3D modeling feel like sketching. The rendering step never got the same treatment, until finishing became a description instead of a second application.
Open the model you are presenting next. Compose one view. Export it clean, or upload the 3D object. Describe the room the way you would describe it to the client. Rendervis keeps the geometry. The image you get back is the one they have been asking for.
Start from the SketchUp view you already have
FAQ
Either add a dedicated render seat (with its own cost, GPU need, and learning curve) or bring a composed SketchUp view or 3D object into Rendervis. Describe materials and light. Rendervis keeps the geometry automatically. Take as many photoreal stills as you need, without rewriting the model.
Not on the common tiers most interior designers use. Those outputs are stylized viewport graphics. Photoreal work means a plugin, an external engine, or a screenshot workflow like the one above.
Yes. Keeping geometry right is what Rendervis handles automatically. Walls, camera, furniture placement, and window positions stay as in your input. You focus the prompt on materials and light. Always compare the still against the model before you present.
Compose the view in SketchUp (two point perspective, sensible eye height, moderate field of view), export a clean 2D graphic or upload a 3D object, then finish it in Rendervis with a materials and light prompt. Rendervis keeps the geometry. Iterate as many options as you need from the same input. That is how you get from model to client presentation in an afternoon.
Yes. That is one of the main reasons designers adopt the screenshot workflow. Real time engines usually want a serious graphics card. Rendervis runs in the browser, so a laptop and your SketchUp seat are the whole setup. Plans start at $49 a month.
Bring your vision to life.