

Guide
How to Turn a GLB Into an Interactive Product Page (No Plugin)
The model already exists. The missing piece is a page where a buyer can turn it, without installing anything.
9 min readRendervis
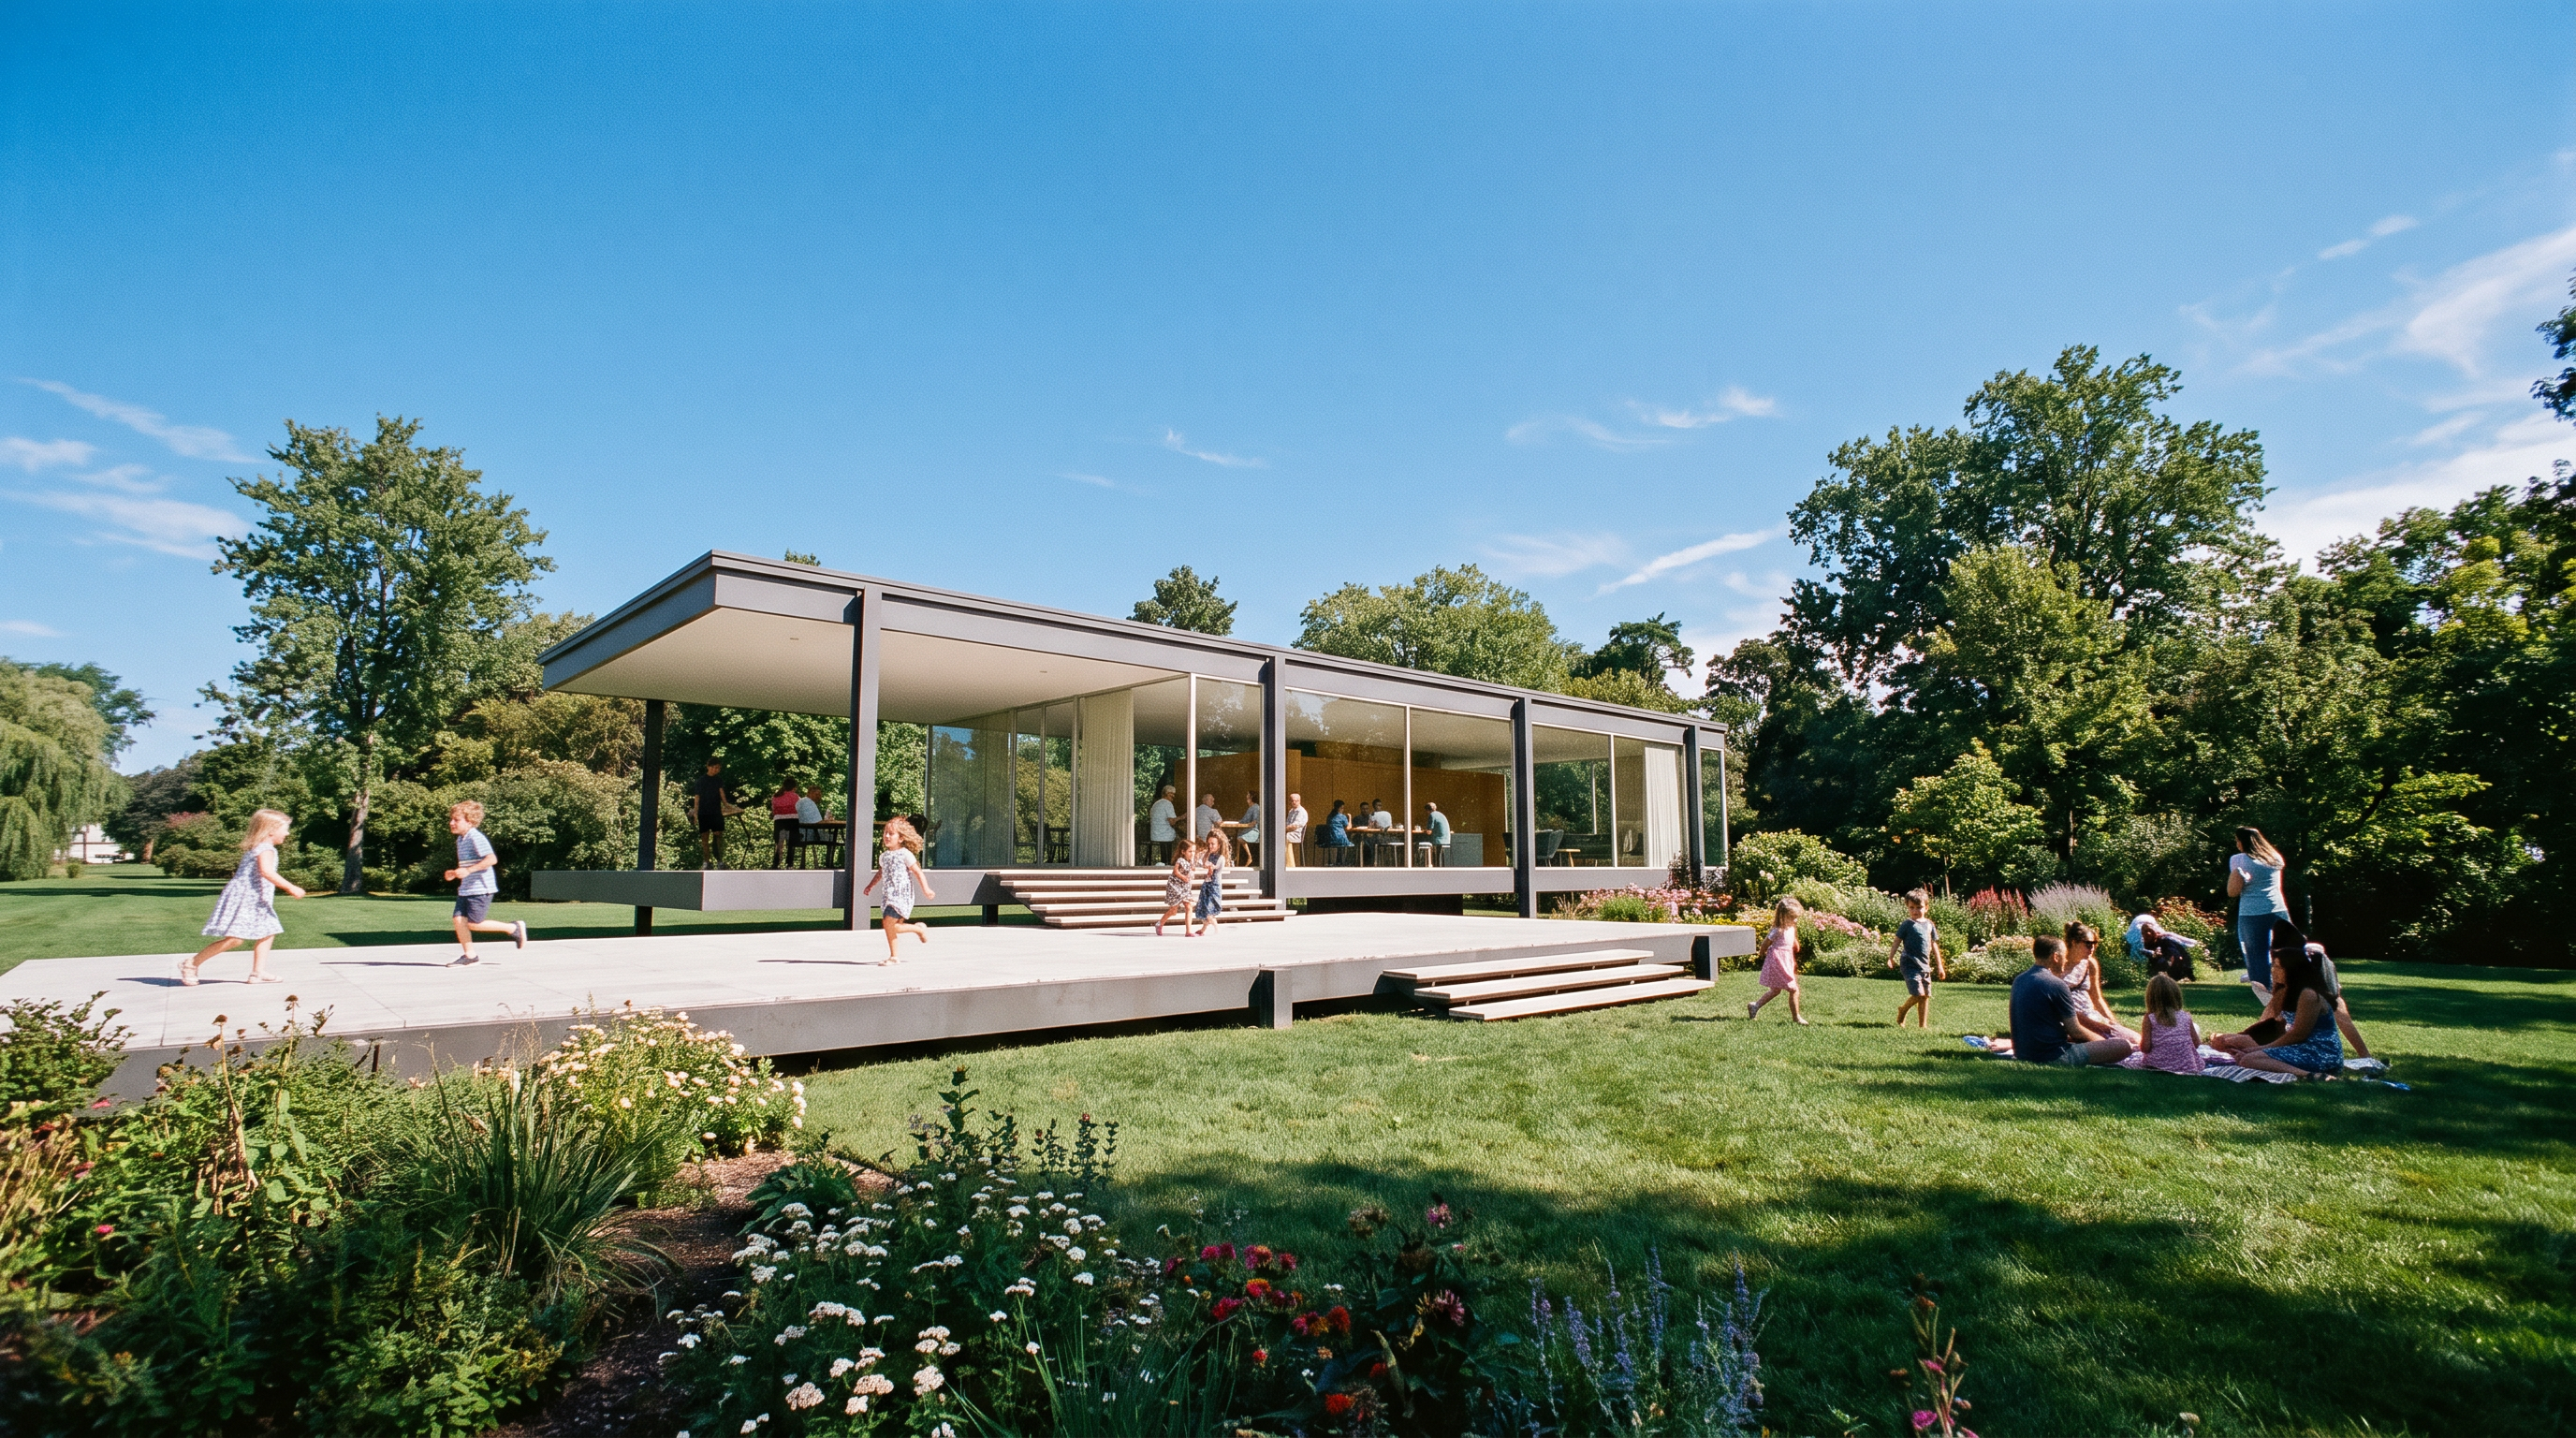
A GLB is the file browsers can load. This guide covers three ways to get it in front of a client: a short DIY embed, an upload and share viewer, and a framed sales experience you can link or drop on a product page. It also covers when a raw viewer is enough, and when framing, highlights, and stills are the job.
You already have the model. The buyer still gets a zip, or a hero shot someone else framed. They cannot turn the chair, check the underside of the lamp, or see how the joint meets the leg.
Get that GLB into a browser so a client can rotate it. No plugin. No desktop app. A link, or a block on the product page. Below is what the file is, three ways to publish it, and when a raw embed is enough versus when you need a page that sells.
Quick answer: A GLB is one file with the mesh and the materials. Host it and embed a viewer if the audience is internal. Use an upload and share link when you only need a fast look. Publish a framed experience in Rendervis when a client, a store, or a brand page has to open on the right angle, with the details called out. Open the product demo to see that last version.
What you need before you start
A GLB is the web version of a 3D model. Geometry, materials, and usually the textures sit in a single binary file. Browsers can load it directly. You do not send a project folder, a plugin, or a CAD seat. If a texture folder is still sitting next to the export, pack it into the GLB before anyone else has to open it.
You also need a place for that file to live. Your own site, a hosted viewer that hands you a link, or a published experience. A file in a chat thread is not a product page.
Then decide who is looking.
- Internal review. A designer, a buyer, a factory. They already know the product. They need to orbit it and comment. A plain viewer is often enough.
- A customer facing page. A client link, a product page, a presentation. They do not know where to look. The first frame, the notes, and the stills next to the model are the sale.
If you are exporting from SketchUp, the tidy export steps live in SketchUp to render. The rest of this guide starts once the GLB exists, from Blender, CAD, or whatever tool already built the product. Rendervis does not remodel it. The form stays as you exported it.
Three ways to get a GLB into the browser
All three end with drag to rotate. They do not end with the same page.
A short DIY embed
If a developer can host the file, the standard browser element is model-viewer. One tag, a URL to the GLB, and the visitor can orbit. Docs for the element live at modelviewer.dev.
<script
   type="module"
   src="https://ajax.googleapis.com/ajax/libs/model-viewer/4.0.0/model-viewer.min.js"
></script>
<model-viewer
   src="https://your-site.com/chair.glb"
   camera-controls
   alt="Chair"
></model-viewer>
That is the whole tutorial. Give the element a real height. A thin strip feels broken.
Two catches show up the same afternoon.
The GLB has to be served over HTTPS from a host that sends the right CORS headers. Open the page as a file:// path on your laptop and the model stays blank. The browser blocks it. Put the HTML and the GLB on a real server, or a local server, before you decide the file is corrupt.
You also get a model in a box. No saved hero angle, no callouts, no stills for the gallery, no lighting pass. Fine for a review. Thin for a page that has to persuade.
An upload and share viewer
Drop the GLB on a hosted viewer and you get a link in a minute. Nobody installs anything. You send the URL. They rotate.
That class of tool is a handoff: look at this file. The page is their chrome, their lighting, an empty void around your product. You usually cannot set the camera the buyer should land on, pin a note to the hinge, or pair the view with a still for the store grid. Use it for a Friday review or a file that is still changing. Not for the homepage.
A sales experience
This is the path when the GLB is ready and the missing work is the page around it.
In Rendervis you upload the file, frame the cameras, clip through the shell when the story is inside, and place highlights on the details that sell. From the same model you can make stills, and a short film from a still you already like. Geometry stays locked. This is not a configurator with option rules and live pricing. It is one model, presented.
Then you publish. A link for the client. An embed for the product page. The same kind of page as the Farnsworth demo: orbit, saved views, stills, in the browser.
| Path | Who it is for | Setup | Brand control | Client ready |
|---|---|---|---|---|
| DIY embed | A developer who already hosts files | An afternoon, plus hosting and CORS | Your page, their empty viewer | Only after you design the frame around it |
| Upload and share viewer | Anyone who needs a link today | Minutes | Their page, your file | A look, not a presentation |
| Rendervis | Marketing, studio ops, a store team | Upload, then frame the views | Cameras, highlights, stills, your link or embed | Yes, once the hero angle is saved |
Step by step: GLB to an interactive product page
1. Export or collect the GLB
Ask for one file. Mesh, materials, textures packed in. Keep the CAD or the Blender scene in the archive. Publish the product a phone can open, not every screw from the engineering model. Name it like a product. You will send this link to people who do not open folders for a living.
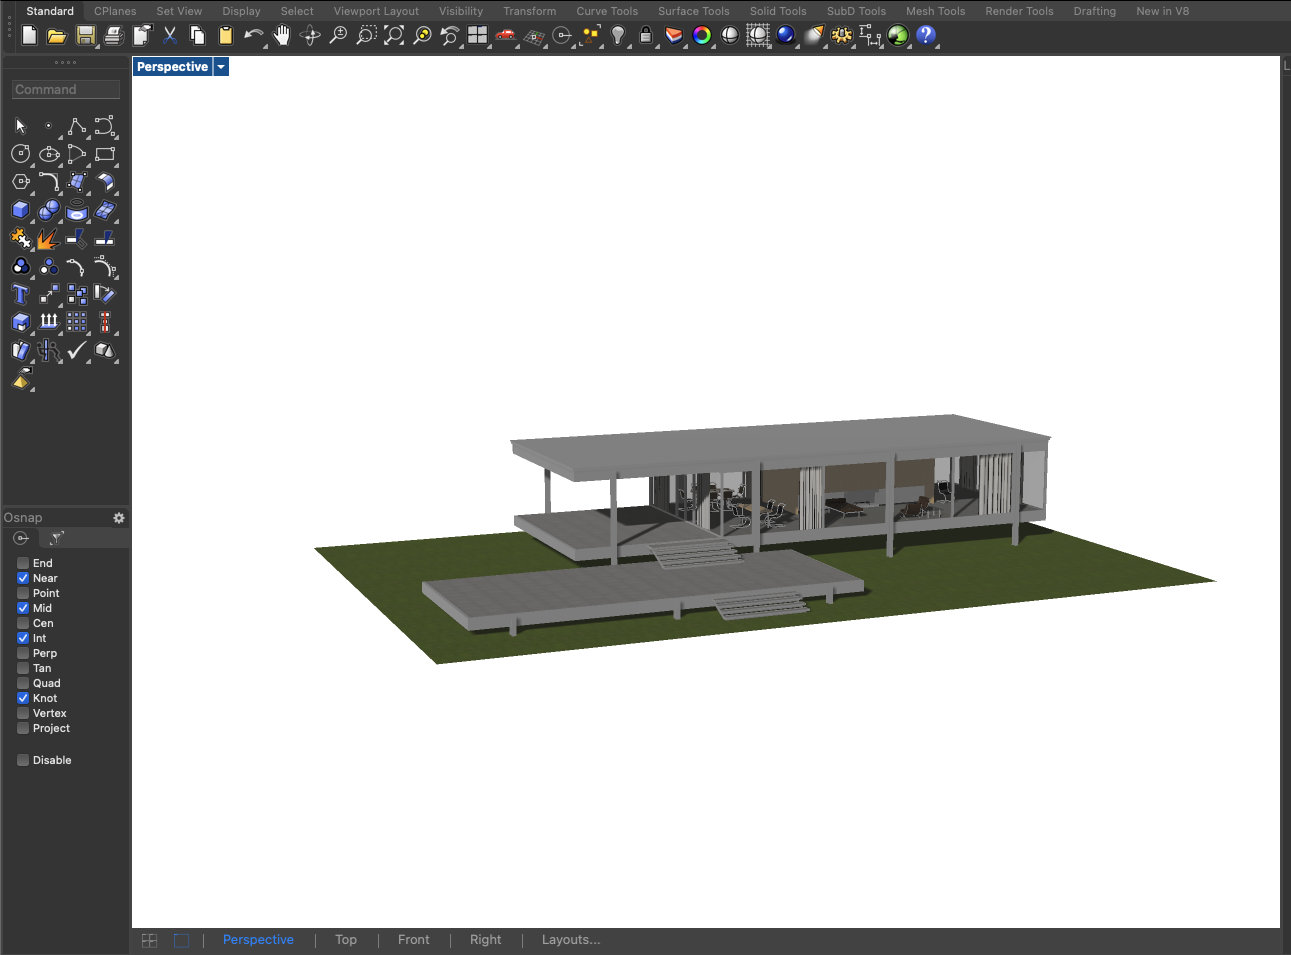
2. Upload it into the studio
Create the experience and drop the GLB in. Rendervis accepts a .glb up to 500 MB. If the upload bar finishes and the model is grey or checkered, the file arrived and the materials did not. Fix the export before you frame cameras around a placeholder.

3. Frame the camera, clip, and place highlights
Orbit until the first view is the one you would put on the cover. Save it. Then save the angles a buyer actually asks about: the three quarter, the hardware, the underside, the mechanism.
Clip when the outside hides the part that explains the product. A section through a housing, a shade, a joint. Do not leave that as a paragraph under the viewer.
Place a highlight on each detail that usually becomes an email. Material, dimension, how something moves. One plain sentence next to the mesh. The visitor jumps there instead of hunting with a mouse.

4. Optional: stills, or a short film, from the same model
The interactive view is the inspection. Ads, the category grid, and email still need a picture.
Generate a still from a camera you already framed. Light, material, atmosphere. The product stays the shape you uploaded. One or two frames are enough for the gallery beside the viewer. If motion helps, turn a still you like into a short cinematic. You are not commissioning a second model for the film.

5. Publish a link, or embed it
Publish when the hero camera is the one you would defend in a meeting. You get a URL. Anyone with it opens the experience in the browser. No plugin.
To put it on a product page, use the embed. Add ?embed=1 so the viewer fills the frame. Your store keeps the price and the buy button. Rendervis keeps the model.
<iframe
   src="https://rendervis.com/@acme/chair?embed=1"
   title="Chair"
   allow="fullscreen"
></iframe>
Give that iframe a real height, the way you would a hero image. A short strip makes orbit feel broken. On a custom domain the same page can sit on your hostname, which is the version you want once the link should look like yours.

Send the link when the product deserves a full screen look. Embed it when the decision happens next to the price.
Make it convert, not just rotate
Rotation is the minimum. A sale needs a point of view.
Land on the hero angle. The first camera is the cover. If the model opens from a random orbit, you handed the buyer your problem. Save the angle you would have art directed, and make that the default.
Call out what the photo crops. Highlights on the finish, the dimension people misread, the mechanism they cannot see in a still. A hotspot with one sentence beats a spec sheet they will not open.
Pair the viewer with one or two stills. Social, the product gallery, and the image that shows while the model loads. Same angles, so the grid and the page agree. A viewer inside a thumbnail is a spinner.
Check a phone before it is public. Drag with a thumb. Open a saved view. Watch how long the model takes to appear on a normal connection. If the useful angle is only easy with a mouse, add another camera. Saved views matter more on a small screen.
The page around the embed still has to sell: name, price, dimensions, the button. The viewer answers "what is this?" It should not push the buy button below a tall empty box.
Troubleshooting
The model will not load. You are almost certainly on file://, or the host is blocking the browser. Serve the page and the GLB over HTTPS. The file host has to allow your site to read it (CORS). A DIY embed fails quietly: a blank element, and the file is fine. A published Rendervis link avoids that, because the file and the page are hosted together.
It looks flat or grey. The mesh arrived without the textures, or the export wrote color in the wrong space. Metals go dull. Fabrics go chalky. Export again with materials packed into the GLB, and check a known surface, wood grain or a metal edge, before you light anything. Rendervis will not invent a shader you left out.
It is slow on a phone. There is no single number that fits every product. Use a budget you can check:
- One product, not the assembly with hidden screws and the packing crate.
- Textures you can read on the hardware. 2K is plenty for most product pages. Drop to 1K on parts nobody zooms into.
- A file you would send over a phone connection. Tens of megabytes, not a few hundred. The 500 MB upload cap is a ceiling, not a target.
- One viewer on the product page. Everything else stays a picture, with a still in the gallery so the page works while the model loads.
If the engineering model is the only file you have, simplify before you publish. A client will not wait on a spinner.
DIY embed or a sales experience
You are the developer, and the audience is internal. Host the GLB, drop in model-viewer, fix CORS, and ship the review link. Stop there if nobody outside the building will see it.
You are marketing, studio ops, or the person who sends the client link. Skip the blank viewer. Frame the hero, add the highlights, make the stills, publish. The demo is the shape of that page.
You are putting it on a store. Embed the published experience next to the price. Keep a normal photo first in the gallery. Do not replace the product page with a spinning model and nothing else.
You need every fabric, a price rule, and illegal combinations blocked. That is a configurator. Budget it as its own project. A viewer of the model you already have is a smaller job, and it is the one this guide is about.
Next step
Upload the GLB you already have. Frame the angle you would put on the cover. Publish the link and send it to one person who has only seen the hero shot.
Open Rendervis and publish that model. Pro is €99 a month, or €999 a year, and it covers the studio, published experiences, and the stills. See pricing.
FAQ
A GLB is a single 3D file browsers can load. The mesh, the materials, and usually the textures are packed together. You export it from the tool you already model in. You do not upload the native CAD project.
Yes. Host the file and embed a viewer, send an upload and share link, or publish an experience. The visitor drags to rotate. They do not install software.
Publish the experience, then place the link in an iframe with ?embed=1 on the URL. Keep the price and the buy button on your page. A short DIY alternative is the model-viewer element pointed at a hosted GLB, as long as that host allows your site to fetch the file.
Browsers block 3D files loaded from a file:// path. Serve the page and the model over HTTPS, and make sure the file host sends CORS headers that allow your site. A blank viewer with a good file is usually this, not a broken export.
When the audience already knows the product and only needs to orbit it. Internal review, a file that is still changing, a technical check. Use a framed sales page when the link goes to a client, a store, or a brand presentation.
No. Rendervis publishes the model you upload: cameras, highlights, stills, a link, an embed. Geometry stays as exported. A configurator with options, rules, and live pricing is a separate build.
Bring your vision to life.